To descale your Keurig with vinegar, start by emptying the reservoir and removing the water filter. Mix equal parts white vinegar and water, then pour the solution into the reservoir. Run a descaling cycle by brewing until the reservoir is empty. Let the solution sit for 30 minutes to break down buildup. Empty the reservoir and fill it with clean water, running multiple water-only cycles to remove any vinegar residue. Disassemble and clean removable parts in warm, soapy water, then rinse and dry them thoroughly. Regularly descale your machine every 3-6 months to keep it in top condition. There are further details ahead.
Main Points
- Mix equal parts white vinegar and water; pour into the Keurig reservoir.
- Run the descaling cycle following the manufacturer’s instructions.
- Allow the vinegar solution to sit in the machine for 30 minutes before continuing.
- Run multiple fresh water cycles to flush out any remaining vinegar residue.
- Clean removable parts with warm, soapy water and dry thoroughly.
Descaling Keurig Coffee Maker With Vinegar
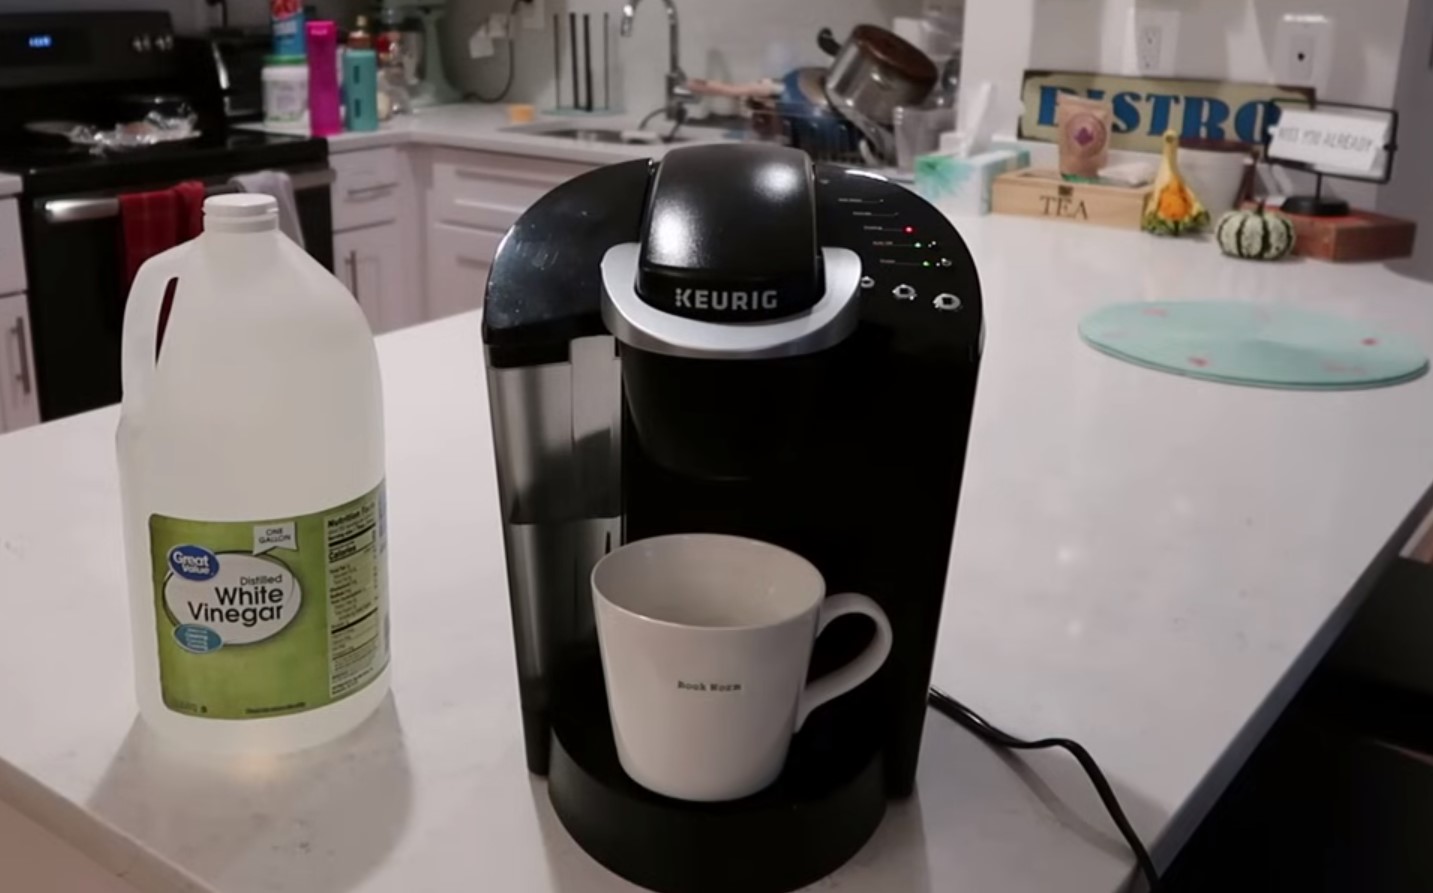
Gather Your Supplies
- White Vinegar
- Water
- Clean Mug
To descale your Keurig, you’ll need white vinegar, water, and a clean mug. You’ll be using white vinegar because it’s a powerful agent for removing mineral build-up and scaling inside your coffee maker. Begin by gathering these key items to make sure you’re well-prepared for the descaling process.
Steps to Descale Your Keurig
1. Prepare the Machine
- Turn Off the Keurig: Ensure the machine is turned off.
- Remove the Water Filter: Take out the water filter from the reservoir.
First, locate your Keurig coffee maker and make sure it’s turned off. Next, you’ll need to measure out equal parts of water and white vinegar. This mixture will create an effective descaling solution that leverages the acidity of vinegar to break down calcium deposits and other mineral build-up in your machine. For most Keurigs, a half-and-half mix of about 10 ounces each of water and white vinegar will suffice.
Make sure you have a clean mug on hand. You’ll use this mug to catch the descaling solution as it runs through the coffee maker. Having a clean reservoir is important; any leftover coffee grounds or contaminants can interfere with the descaling process.
2. Empty the Reservoir
- To start, you’ll need to remove the water filter from the reservoir.
- Next, drain any remaining water to make sure the reservoir is empty.
These steps are important for preventing any interference during the descaling process.
Remove Water Filter
Make sure you remove the water filter from your Keurig machine and empty the reservoir before you start descaling with vinegar. This step is essential as it prevents the vinegar taste from lingering in the filter.
Start by lifting the water reservoir lid and carefully removing the water filter. If you’ve never done this before, don’t worry—it’s straightforward. Simply detach the filter from its holder.
Next, it’s time to empty the water reservoir. Discard any old water left in the reservoir to make sure you’re starting with a clean slate. This is important because old water can dilute the vinegar, reducing its effectiveness in descaling.
Once the reservoir is empty, give it a quick rinse to remove any residual particles. Before you proceed, take a moment to wash the filter by hand. This ensures it’s clean and ready for use after descaling. Use warm water and a mild detergent, then rinse thoroughly.
Drain Remaining Water
Make sure the Keurig’s water reservoir is entirely empty before you begin the descaling process. Draining the remaining water is an important step to guarantee the vinegar can effectively clean your machine.
Here’s how you do it:
- Remove the reservoir: Detach the water reservoir from the Keurig.
- Discard the water: Pour out any water left inside the reservoir.
- Remove the filter: Take out the water filter. If it’s still in place, it can absorb the vinegar and leave an unpleasant taste in your coffee.
- Check for K-cups: Ensure there are no K-cups in the machine.
After you’ve emptied the reservoir, give it a quick rinse to remove any residual water. This step is vital because any leftover water can dilute the vinegar, reducing its effectiveness in cleaning the machine.
Next, inspect the reservoir to ensure there’s no debris or buildup that could interfere with the descaling process. If needed, give it a gentle scrub with a non-abrasive cloth.
Preparing your Keurig by draining all water and removing the filter sets the stage for a thorough descaling, ensuring your coffee maker remains in peak condition.
Now, you’re ready to proceed with the vinegar descaling solution.
3. Mix Vinegar Solution
- Combine Vinegar and Water: Mix equal parts white vinegar and water. For most Keurigs, 10 ounces each of vinegar and water will suffice.
- Pour the Solution: Fill the reservoir with the vinegar-water mixture.
Regularly, you should mix equal parts white vinegar and water to create an effective descaling solution for your Keurig coffee maker. This vinegar solution is important for breaking down the mineral build-up that accumulates over time. By addressing this build-up, you guarantee that the internal components of your coffee maker remain clean and functional.
To begin, measure out equal parts of white vinegar and water. For instance, if you’re using one cup of white vinegar, mix it with one cup of water. This balanced mixture will create a potent, yet safe, descaling agent.
Pour the mixed vinegar solution directly into the water reservoir of your Keurig coffee maker. This step is essential as it allows the solution to reach and clean the areas where mineral deposits have settled.
Using vinegar as a descaling agent is both natural and cost-effective, making it an excellent choice for regular maintenance. By utilizing this method, you not only prolong the lifespan of your Keurig coffee maker but also ensure that your coffee tastes fresh and free from any unwanted residue.
With this straightforward process, you can efficiently tackle mineral build-up and keep your machine in top condition.
4. Run Descale Cycle
- Start the Cycle: Turn on the machine and begin a brew cycle without a K-Cup.
- Repeat Until Empty: Run the descaling solution through several cycles until the reservoir is empty.
Start the descaling process by filling your Keurig’s water reservoir with the vinegar-water solution. Once you’ve got the solution ready, power on your machine and begin running the descaling cycle. Follow the manufacturer’s instructions closely to make sure you’re doing it correctly. This step is important for breaking down calcium deposits and other residues that can affect the taste of your coffee.
During the descaling process, the vinegar’s acidity will work to clean out the internal components of your Keurig. You’ll need to run several cycles to make sure the solution thoroughly circulates through the system.
Here’s a quick rundown of what to do next:
- Run the descaling solution through a brew cycle without a K-cup inserted.
- Repeat this process until the water reservoir is empty.
- Let the machine rest for about 30 minutes to ensure the vinegar has time to break down deposits.
- Rinse the reservoir thoroughly and fill it with plain water for subsequent cycles.
After running the vinegar or descaling solution, it’s important to follow up with plain water cycles. This helps flush out any remaining vinegar, ensuring it doesn’t affect the taste of your coffee.
Descale your Keurig every three to six months to maintain peak performance.
5. Let It Sit
- Soak: Allow the vinegar solution to sit in the machine for at least 30 minutes to break down mineral deposits.
After running the vinegar solution through your Keurig, let it sit in the reservoir for about 30 minutes. This waiting period allows the vinegar to break down stubborn mineral deposits and scale buildup inside the machine.
Ensuring the vinegar has enough time to work will help keep your coffee maker running smoothly and improve the taste of your brewed coffee.
Vinegar Soaking Duration
Allowing the vinegar solution to sit in your Keurig for at least 30 minutes is vital for effectively breaking down mineral deposits. This soaking duration is important to dissolve the limescale and calcium buildup that can hinder your coffee maker’s performance.
By letting the vinegar work its way through the internal components, you guarantee a thorough descaling process.
Here’s why you should let the vinegar solution sit:
- Efficient Limescale Dissolution: The extended soaking time allows the vinegar to penetrate and dissolve stubborn limescale.
- Improved Machine Performance: Removing mineral deposits helps your Keurig brew more efficiently and can extend its lifespan.
- Enhanced Coffee Taste: Clearing out calcium buildup prevents it from affecting the flavor of your coffee.
- Reduced Maintenance Frequency: A well-descaled machine requires less frequent maintenance, saving you time and effort.
For heavily scaled machines, consider extending the soaking duration up to an hour. This ensures that even the most stubborn deposits are thoroughly dissolved.
Residue Breakdown Time
When you let the vinegar solution sit in your Keurig for about 30 minutes, it breaks down mineral residue effectively. This residue breakdown time is important in dissolving scale buildup and ensuring a thorough clean. The vinegar solution works its way through the internal components, targeting areas where mineral deposits tend to accumulate.
As the vinegar sits, it penetrates the stubborn mineral residue, breaking it down into smaller, more manageable particles. This process is vital for the descaling process, as it guarantees that the internal components of your Keurig are cleaned effectively. The longer the vinegar solution remains in the machine, the more time it has to dissolve the scale buildup.
This residue breakdown time not only helps in dissolving existing mineral deposits but also prevents future buildup, maintaining the efficiency and longevity of your coffee maker. By allowing the vinegar to work its magic, you’re making sure that every nook and cranny of your Keurig is free from scale, resulting in better-tasting coffee and a more reliable machine.
Effective Waiting Period
Allowing the vinegar solution to sit in your Keurig for at least 30 minutes is important for breaking down mineral deposits effectively. This waiting period is necessary because it gives the vinegar’s acidity enough time to penetrate and loosen any limescale or calcium deposits inside your coffee maker. By letting the mixture sit, you guarantee a thorough cleaning process, thereby maximizing the descaling process’s efficiency.
During this waiting period, the vinegar solution works diligently to dissolve scale build-up, which can otherwise accumulate and clog your machine. Patience is key; for particularly stubborn build-up, consider extending the waiting period to up to an hour. This extended time allows the vinegar to work its magic more thoroughly, ensuring that even the most persistent mineral deposits are broken down.
Remember to:
- Let the vinegar solution sit for at least 30 minutes.
- Extend the waiting period to an hour for stubborn build-up.
- Make sure the solution covers all areas with potential limescale.
- Use this time to clean other parts of your Keurig.
Following these steps will help maintain your Keurig in excellent condition and prolong its lifespan.
6. Rinse the Reservoir
- Empty the Solution: Discard any remaining vinegar solution from the reservoir.
- Refill with Water: Fill the reservoir with fresh water.
Rinsing the reservoir thoroughly is important to eliminate any vinegar residue after descaling your Keurig coffee maker. Start by emptying the reservoir of any remaining vinegar solution.
Fill the reservoir with clean water and place it back onto the Keurig. Initiate a brewing cycle without inserting a K-Cup. This step allows the clean water to flush out any lingering vinegar present in the system.
Make sure you run multiple brewing cycles until the water in the reservoir runs clear. This is an indication that all traces of vinegar have been removed. It’s necessary to perform this rinse thoroughly to prevent any residual vinegar taste from affecting your future coffee brews.
A proper rinse ensures the Keurig is free from any vinegar solution remnants, making it ready for regular use.
To master this process, pay attention to the clarity of the water coming out of the machine. If you notice any cloudiness or vinegar smell, repeat the rinse process until the water is completely clear.
This attention to detail will help maintain the integrity of your coffee’s flavor and ensure the longevity of your Keurig coffee maker.
7. Run Fresh Water Cycles
- Flush the System: Run several cycles of fresh water through the machine without a K-Cup to remove any vinegar residue. Continue until the water runs clear and there’s no vinegar smell or taste.
To guarantee your Keurig is free of any vinegar residue, run several cycles of fresh water through the machine. This step is essential to rinse out any remaining vinegar and ensure your coffee tastes perfect.
To start, fill the water reservoir with fresh water and initiate a brewing cycle without inserting a K-Cup. Repeat this process to effectively remove vinegar taste and any lingering residue.
Here are key points to keep in mind:
- Run at least three cycles of plain water: This ensures thorough cleaning and removes all vinegar traces.
- Observe the clarity of the water: Clear water indicates successful removal of vinegar residue.
- Use fresh water for each cycle: Refilling the reservoir with clean water each time maximizes effectiveness.
- Check for any remaining sour taste: If detected, continue running additional fresh water cycles until the taste is completely gone.
8. Clean Removable Parts
- Disassemble and Wash: Remove and wash the water reservoir, lid, drip tray, and K-Cup holder in warm, soapy water.
- Rinse and Dry: Rinse thoroughly and let them air dry completely before reassembling.
Cleaning your Keurig’s removable parts is important for maintaining its performance and hygiene. Start by unplugging your machine and disassembling the removable components, including the water reservoir, its lid, and the drip tray.
These parts can accumulate residue and build-up over time, affecting the taste of your coffee and the machine’s efficiency. Wash each part in warm, soapy water. Use a sponge or a cleaning cloth to scrub away any residue. Pay particular attention to corners and crevices where build-up is more likely to occur.
Once you’ve scrubbed all the parts, rinse them thoroughly with clean water. This step is essential to make sure all soap and debris are completely removed, preventing any unwanted flavors in your coffee. After rinsing, allow the parts to air dry completely. Placing them on a clean dish rack is a good option.
Make sure they’re fully dry before you reassemble your Keurig. Moisture can lead to mold growth or damage electronic components when reassembled.
Perform Regular Maintenance
Regular maintenance, like descaling with vinegar, keeps your Keurig running smoothly and guarantees every cup of coffee tastes its best. To keep your machine in top shape, you should perform regular maintenance that addresses potential issues before they become significant problems.
Descaling is important because it removes mineral buildup that can impede water flow and cause clogs, ensuring your Keurig operates at peak efficiency.
Here are some key maintenance tips to follow:
- Descale regularly: Use vinegar to descale your Keurig every three to six months. This helps remove mineral buildup and keeps the internal components clean.
- Clean removable parts: Regularly wash the water reservoir, drip tray, and K-cup holder with warm, soapy water to prevent mold and bacteria growth.
- Use filtered water: Using filtered water can reduce mineral deposits, minimizing the frequency of descaling and prolonging your Keurig’s lifespan.
- Run a water-only brew cycle: Occasionally, run a brew cycle with just water to flush out any remaining coffee grounds or debris, ensuring consistent water flow.
Frequently Asked Questions
How Long Do You Leave Vinegar in a Keurig to Descale?
Leave the vinegar in the machine for at least 30 minutes. For heavy scaling, let it sit for up to an hour.
For the best time, allow a vinegar duration of at least 3 hours during the descaling process. This soaking time improves acid effectiveness in removing buildup. For heavy scaling, extend the cleaning cycle overnight for thorough maintenance.
How Do I Get My Keurig to Descale?
Mix the vinegar solution, run the descaling cycle as per the manufacturer’s instructions, and ensure regular maintenance.
To maintain your Keurig, establish a regular descaling frequency as part of your cleaning routine. Consider vinegar alternatives or descaling solutions. Use water filtration to prevent build-up. For Keurig troubleshooting, focus on consistent machine upkeep to guarantee peak performance.
How to Descale a Coffee Maker With Vinegar?
Use equal parts vinegar and water, run the mixture through the machine, let it sit, and follow up with fresh water cycles to rinse thoroughly.
To descale your coffee maker with vinegar, consider vinegar alternatives and focus on descaling frequency. Use appropriate cleaning tools and consider water quality. Routine maintenance guarantees minimal mineral buildup, consistent brewing, and eco-friendly methods promote longevity.
How Do You Reset the Descale Light on a Keurig?
After descaling, hold the Brew button for five seconds. If it doesn’t reset, consult your Keurig manual.
To reset the descale light on your Keurig, follow these reset steps: hold the Brew button for five seconds. If the light persists, refer to your Keurig manual. Proper Keurig maintenance guarantees effective light troubleshooting and resolves Keurig issues.
Conclusion
Descaling your Keurig with vinegar is straightforward and crucial for maintaining your machine’s performance.
Gather your supplies, empty the reservoir, and mix the vinegar solution.
Run the descale cycle, let it sit, and then rinse the reservoir.
Follow up with several fresh water cycles to make sure all vinegar is removed.
Clean any removable parts and establish a regular maintenance routine.
By following these steps, you’ll keep your Keurig in top shape and enjoy better-tasting coffee.