To clean your coffee maker with white vinegar, start by mixing equal parts white vinegar and water. Pour the mixture into the water reservoir. Run a brew cycle and stop it halfway. Let it sit for 30 minutes to break down mineral deposits. Resume and finish the cycle. After that, run two to three cycles with fresh water to rinse out any vinegar residue. Don't forget to clean the carafe and filter with the same vinegar solution. For more details on keeping your coffee maker in top shape, you can find additional tips and tricks ahead.
Main Points
- Mix equal parts white vinegar and water to create a descaling solution.
- Fill the coffee maker's water reservoir with the vinegar-water mixture.
- Start the brew cycle and let it run halfway, then pause and let it sit for 30 minutes.
- Resume the brew cycle to finish running the vinegar solution through the machine.
- Rinse the coffee maker by running multiple brewing cycles with fresh water to eliminate any residual vinegar.
Gather Your Supplies
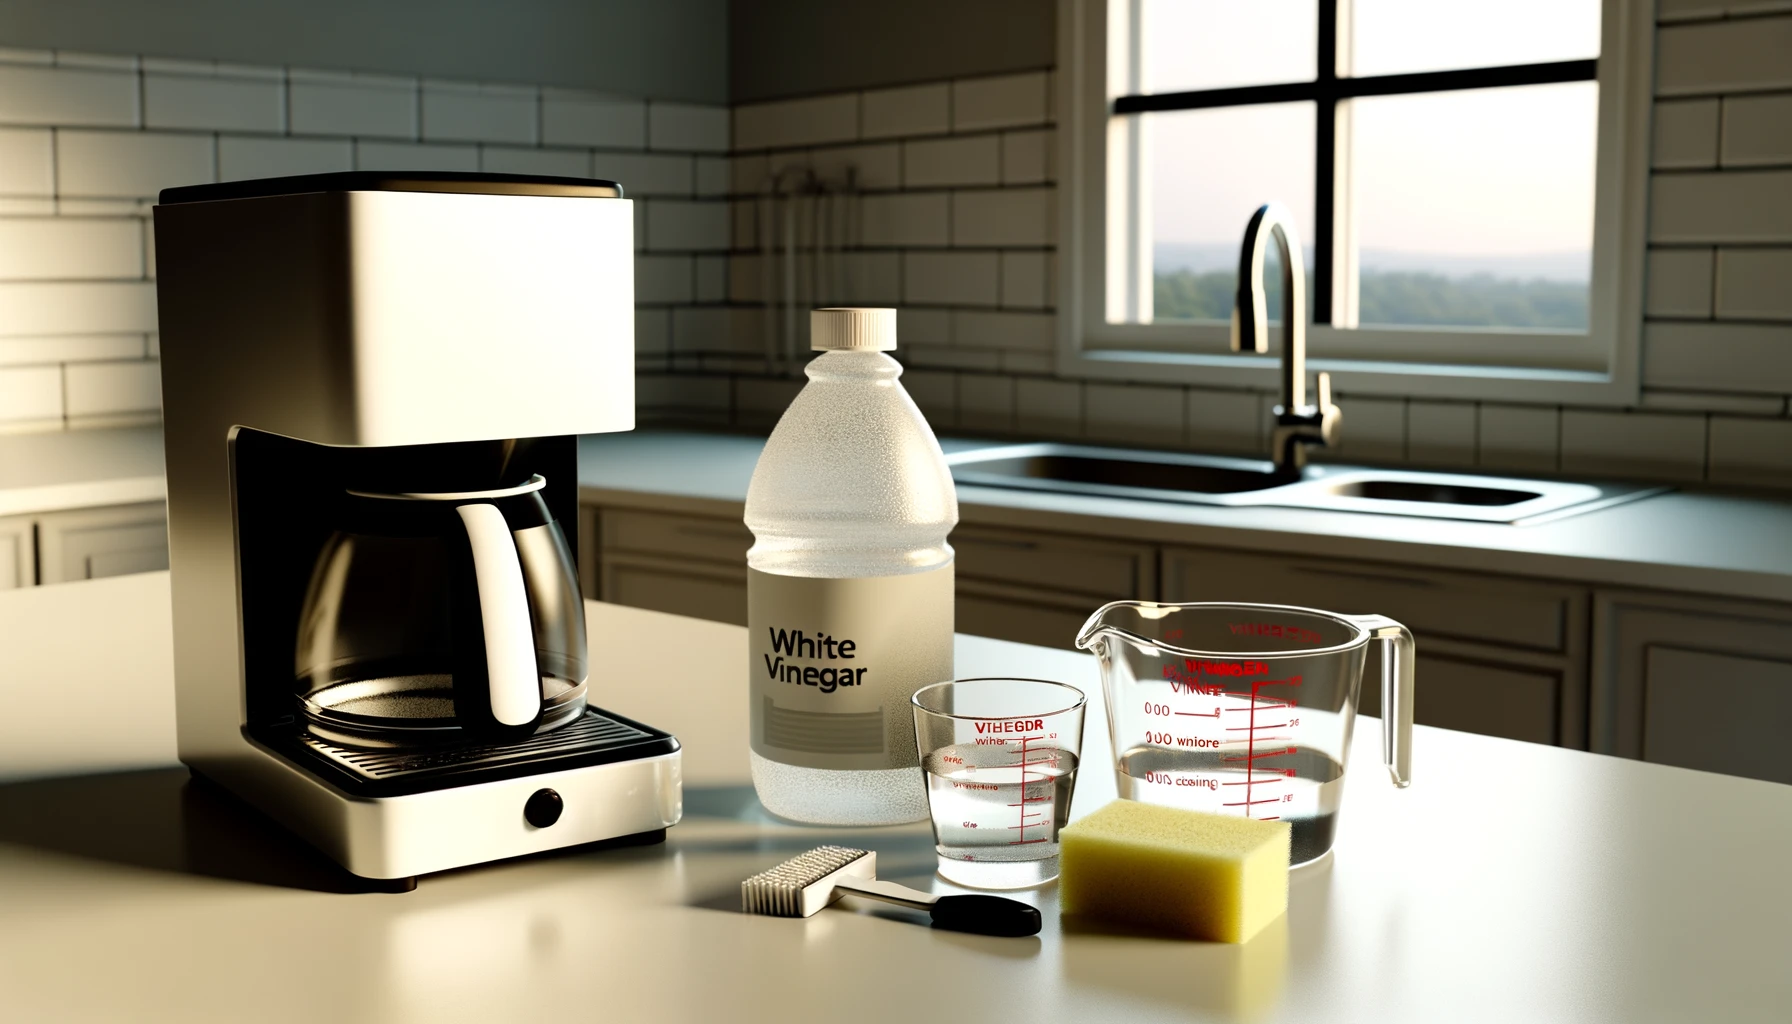
Start by gathering distilled white vinegar, water, and a clean coffee maker. These supplies are important for an effective cleaning process. Distilled white vinegar is your go-to solution due to its acidity, which helps dissolve mineral deposits and coffee oils that accumulate over time. This cleaning method is both eco-friendly and cost-effective, making it an excellent choice for maintaining your coffee maker.
First, make sure your coffee maker is free from any leftover coffee grounds or filters. A clean starting point maximizes the efficiency of the cleaning process. Next, have your distilled white vinegar and water ready. You'll need these to create the cleaning solution that will run through your machine.
White vinegar isn't only affordable but also environmentally friendly, making it a sustainable choice for regular maintenance. By using white vinegar, you effectively remove buildup that can negatively impact the taste and performance of your coffee maker. Additionally, regular cleaning with this method can extend the lifespan of your coffee maker, ensuring it continues to produce excellent brewing results.
Gathering these supplies sets the stage for a thorough and effective cleaning, ensuring your coffee maker remains in top condition.
Mix Vinegar Solution
Wondering how to create the perfect cleaning solution for your coffee maker? It's simpler than you might think. Start by grabbing a measuring cup and filling it halfway with white vinegar. Next, fill the rest of the cup with water. You'll want equal parts of each to guarantee effective descaling. The acidity in the white vinegar is key here; it breaks down mineral deposits and residue that accumulate in your coffee maker over time.
Once mixed, this cleaning solution harnesses the natural power of white vinegar to tackle stubborn coffee oils and residue, ensuring a fresher brew with each use. Regular cleaning with this solution not only maintains the top-notch performance of your coffee maker but also extends its lifespan.
To mix your solution correctly, pour the equal parts of white vinegar and water into a large container. This mixture will act as your powerhouse for descaling and disinfecting. The natural acidity of the white vinegar will work its way through the coffee maker, dislodging mineral deposits and other buildups.
Now that you've got your cleaning solution ready, you're on the path to a cleaner, more efficient coffee maker.
Prepare the Coffee Maker
With the vinegar solution ready, you now need to empty the coffee maker of any leftover coffee grounds and filters. Remove and discard the used coffee grounds and filters from the machine. Make sure that your coffee maker is unplugged and cool before proceeding with the cleaning process. Safety is paramount, and handling an unplugged and cool appliance reduces the risk of burns or electric shock.
Next, consult your coffee maker's manufacturer's instructions to confirm that using a white vinegar solution won't void the warranty or damage the machine. This step is essential, as not all coffee makers are designed to be cleaned with vinegar.
Once you've verified compatibility, it's time to prepare the machine for cleaning. Fill the water reservoir with a mixture of white vinegar and water in equal parts. If your water reservoir holds ten cups, for example, use five cups of white vinegar and five cups of clean water. This balanced mixture ensures that the vinegar efficiently breaks down mineral deposits and residue without being overly harsh.
Start Brew Cycle
Begin the cleaning process by initiating a brew cycle with the vinegar and water solution. This essential step guarantees your coffee maker is free from any unwanted impurities. Here's what you need to do:
- Fill the reservoir with a mixture of half white vinegar and half water.
- Turn on the coffee maker to start the brew cycle.
- Allow the solution to run through the machine until the carafe is about halfway full.
- Turn off the coffee maker and let the solution sit for 30 minutes to work its magic.
- Resume the brew cycle to finish running the vinegar solution through the machine.
Using white vinegar in this manner will help remove mineral deposits that accumulate over time. The acidity effectively breaks down any lingering residue and disinfects the internal components of your coffee maker.
By letting the solution sit for 30 minutes, you allow the vinegar ample time to penetrate and dissolve stubborn buildup.
Once the brew cycle with the vinegar solution is complete, you'll notice a significant difference in your coffee maker's performance. This step is critical in maintaining a clean and efficient machine, setting a strong foundation for the next stages of the cleaning process.
Pause and Soak
After the initial brew cycle stops, it's time to let the coffee maker soak in the vinegar solution for 15-30 minutes. This pause is vital for breaking down the mineral deposits and residue that accumulate within the internal components of your machine. By allowing the vinegar solution to sit, you're guaranteeing a thorough cleaning process that will ultimately lead to a fresher and better-tasting brew.
During this soaking period, the vinegar solution works its way into all the nooks and crannies of your coffee maker, tackling stubborn buildup that a simple rinse can't remove. This step is particularly important if you haven't cleaned your coffee maker in a while, as the mineral deposits and stains can be quite persistent.
To maximize the effectiveness of this process, make sure the machine remains off during the entire soak. This pause allows the vinegar to fully penetrate and react with the deposits.
After the 15-30 minutes are up, you'll be ready to resume the brewing cycle, completing the cleaning process. This method ensures that every part of your coffee maker is as clean as possible, enhancing both the longevity and performance of your appliance.
Complete Brew Cycle
To start the complete brew cycle, fill the water reservoir with equal parts white vinegar and water.
Then, start the brew cycle as if you were making a pot of coffee, but without any coffee grounds.
After the cycle completes, rinse the machine by running two or three cycles with fresh water to remove any remaining vinegar.
Fill Water Reservoir
Fill your coffee maker's water reservoir with a 1:1 mixture of white vinegar and water to start the cleaning process. Ensuring the water reservoir is filled to the recommended level is vital for the mixture to effectively reach all the internal components. This step will help you achieve a thorough clean, removing mineral buildup and residue.
Here's what you should do:
- Measure Equal Parts: Combine equal parts of white vinegar and water to form your cleaning solution.
- Pour Carefully: Fill the water reservoir with this mixture, making sure it reaches the recommended level.
- Inspect for Residue: Look for any visible residue or buildup in the reservoir before proceeding.
- Prepare for the Brew Cycle: Make sure the coffee maker is ready to run a complete brew cycle with the vinegar solution.
- Allow Time to Sit: Once the brew cycle is complete, let the solution sit in the coffee maker for about 30 minutes to break down deposits.
After running the vinegar mixture through a complete brew cycle, it's vital to rinse your coffee maker thoroughly. Use multiple cycles of fresh water to eliminate any remaining vinegar taste and residue.
This careful attention to detail ensures your coffee maker remains in top condition, ready to brew your next perfect cup.
Start Brew Cycle
Initiating a complete brew cycle with the vinegar solution will guarantee that your coffee maker is thoroughly cleaned. First, make sure your coffee maker is ready by filling the reservoir with the vinegar solution you prepared earlier. This mix will effectively tackle the mineral deposits and oils that accumulate over time.
Once the reservoir is filled, start the brew cycle just as you'd when making coffee. This step ensures the vinegar solution circulates through all parts of the machine, thoroughly cleaning every nook and cranny. As the brew cycle progresses, the vinegar solution will break down and dissolve any stubborn residue lining the internal components.
To maximize the cleaning power, allow the vinegar solution to sit in the coffee maker for a few minutes during the brew cycle. This additional time helps in loosening up the build-up of mineral deposits and oils. When the brew cycle completes, the interior of your coffee maker should be noticeably cleaner.
After completing the brew cycle, the next important step is to rinse the machine thoroughly. This will make sure any remaining vinegar is removed, leaving your coffee maker fresh and ready for your next brewing session.
Rinse and Repeat
Once the initial brew cycle with the vinegar solution is complete, pause and let the coffee maker sit for 15-30 minutes to maximize the cleaning effect. This waiting period allows the white vinegar to thoroughly clean and descale the internal components, breaking down any stubborn deposits.
After the pause, resume the brewing cycle to complete the vinegar process.
Next, you need to rinse the coffee maker to make sure no residue is left. Fill the reservoir with fresh water and run a full brew cycle. This step flushes out any remaining vinegar, making certain your coffee maker is ready for your next brew.
To achieve mastery in this cleaning routine, follow these steps:
- Run the full vinegar brew cycle.
- Pause for 15-30 minutes.
- Complete the remainder of the brew cycle.
- Run 2-3 full water cycles to flush out vinegar.
- Inspect for any lingering vinegar smell or taste.
These steps make sure your coffee maker is thoroughly clean and descaled, extending its lifespan. By repeating the water cycles, you guarantee a fresh coffee experience, free from vinegar taste or odor.
Rinse With Water
After completing the vinegar cleaning cycle, thoroughly rinse the coffee maker with clean water to eliminate any residual vinegar. This step is essential to guarantee that no vinegar taste remains, preserving the flavor of your future brews.
Start by filling the reservoir with fresh water and running a full brewing cycle.
Rinsing with water helps to remove any lingering vinegar smell, which could otherwise impact the taste of your coffee. Make sure you repeat this rinsing process at least two to three times to be certain all the vinegar has been flushed out.
Pay special attention to all components of your coffee maker. This includes the reservoir, carafe, and filter basket. Each part should be thoroughly rinsed to ensure a complete cleaning process. You don't want any residual vinegar clinging to these areas, as it could alter the flavor of your coffee.
Clean Carafe and Filter
Now it's time to clean the carafe and filter to make sure your coffee maker stays in top condition. Start by mixing equal parts white vinegar and water in the carafe. This solution is excellent for breaking down mineral deposits that can affect your coffee's taste and the machine's efficiency.
Next, pour the vinegar and water mixture into the coffee maker's water chamber. Run a brewing cycle without adding any coffee grounds. This allows the cleaning solution to work its way through the entire system, reaching both the carafe and the filter.
After the brewing cycle completes, let the vinegar solution sit in the carafe and filter for about 30 minutes. This soaking period ensures that any stubborn mineral deposits are thoroughly broken down.
To grab your attention and make sure you're on track, remember:
- Mix equal parts vinegar and water in the carafe
- Pour mixture into the water chamber
- Run a brewing cycle without coffee grounds
- Let the solution sit for 30 minutes
- Rinse thoroughly with water
Final Rinse
To guarantee your coffee maker is free of any lingering vinegar, run two full brewing cycles with clean water. This step is important to remove any vinegar residue that may affect the taste of your next brew. Start by filling the water reservoir with clean, fresh water. Then, initiate a brewing cycle as you normally would, but without any coffee grounds. Once the cycle is complete, discard the water and repeat the process one more time.
This final rinse is vital for maintaining the cleanliness of your coffee maker. It ensures that no remnants of vinegar are left behind, which could otherwise lead to an unpleasant taste in your fresh coffee. By thoroughly rinsing, you're also helping to improve the flavor of your brewed coffee, making sure that every cup you make is as delicious as possible.
Following these brewing cycles with clean water after descaling with white vinegar is a simple yet effective way to keep your coffee maker in top condition. It's a small effort that pays off in the quality and taste of your coffee, ensuring you enjoy the best possible experience every time.
Frequently Asked Questions
Should You Use a Filter When Cleaning a Coffee Maker With Vinegar?
Yes, you should use a filter when cleaning your coffee maker with vinegar. Choose the right filter type to trap coffee residue, manage vinegar smell, and follow maintenance tips for best cleaning frequency. Filter alternatives work too.
How Do I Clean My Mr Coffee With White Vinegar?
To clean your Mr. Coffee, fill the water reservoir with a vinegar ratio of equal parts vinegar and water. Start a cleaning cycle to remove coffee stains, let the brewed vinegar sit, and complete with rinse cycles for thorough machine maintenance.
Can You Run Vinegar Through a Coffee Maker Twice?
Yes, you can run vinegar through a coffee maker twice. The vinegar potency during double brewing boosts cleaning cycles, descaling methods, and residue removal. Repeating the process guarantees maximum vinegar benefits and a thoroughly cleaned coffee maker.
Is Vinegar or Baking Soda Better for Cleaning a Coffee Maker?
You'll find vinegar's an eco-friendly cleaner with superior cleaning efficiency and residue removal. It's cost-effective, easy to use, and health concerns are minimal. Baking soda's less effective for internal cleaning but better for odors and external surfaces.
Conclusion
By following these straightforward steps, you'll guarantee your coffee maker stays in top condition. Regular cleaning not only extends its lifespan but also improves the flavor of your coffee.
Just gather your supplies, use the vinegar solution, and rinse thoroughly. It's a simple routine that pays off with every fresh cup.
Keep your coffee maker clean, and you'll always enjoy a great start to your day. Happy brewing!