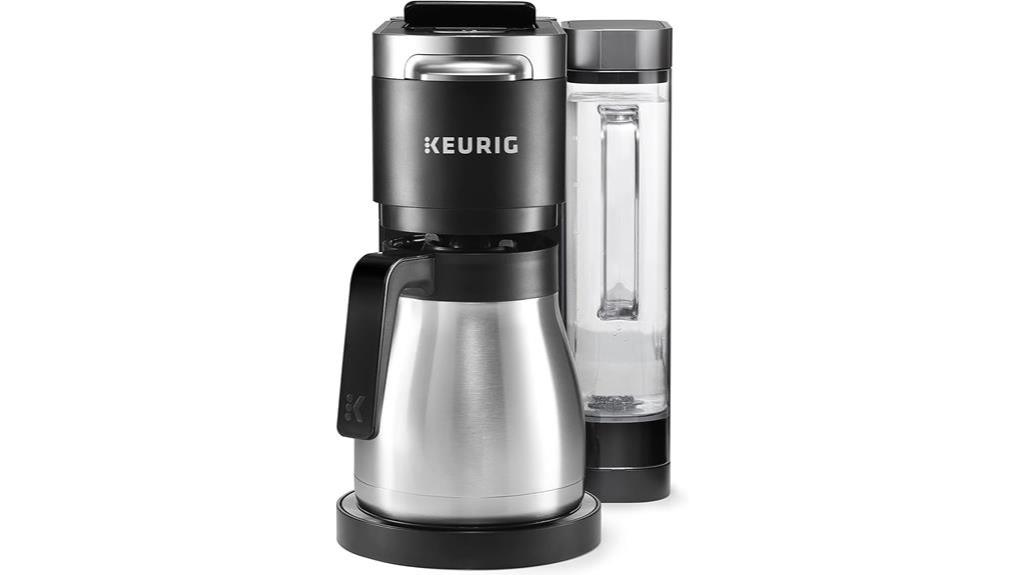
To set the time on your Keurig coffee maker, press the menu button to access the settings. Hold the clock button to adjust hours and minutes, using the appropriate buttons for precision. Make sure to choose between the 12-hour or 24-hour format and confirm AM/PM settings. Set your desired on and off times for automatic brewing and energy-saving shutdown. Save your settings by pressing the menu button again. Finally, consider enabling the Auto Off feature to help conserve energy after inactivity. For a more streamlined coffee routine, continue to fine-tune other settings on your Keurig machine.
Main Points
- Press the menu button to access the settings.
- Press and hold the clock button to adjust the time.
- Use the hour and minute buttons for precise adjustments.
- Confirm the AM/PM settings for accuracy.
- Press the menu button again to save the new time settings.
Access the Menu
To set the time on your Keurig coffee maker, start by pressing the menu button to access the settings. This button is your gateway to customizing your machine, including setting the time. Once you've pressed it, you'll find yourself moving through various options. Use the menu button to scroll down to the on/off setting. This is where you begin setting the precise time on your Keurig.
If you encounter any trouble while navigating, don't worry. Troubleshooting menu issues typically involves making sure the machine is plugged in and the display is functioning correctly. If the menu button doesn't seem to respond, a simple reset might do the trick. Unplug the machine, wait a few seconds, then plug it back in.
Setting the timer on your Keurig has several benefits. It ensures your coffee is ready exactly when you want it, saving you those precious morning minutes. Additionally, an accurate clock allows you to use other features, like auto-brew, more effectively.
Adjust the hours and minutes using the appropriate buttons until the correct time is displayed. Confirm your settings by pressing the menu button again, and your Keurig's time will be perfectly set.
Set the On Time
Often, programming the on time for your Keurig guarantees that your coffee maker starts brewing at your preferred time each morning. To begin, press the menu button on your Keurig to access the settings menu. Use the navigation buttons to scroll down to the 'On/Off' option. This is where you'll set the precise time you want your Keurig to turn on.
Once you're in the 'On/Off' menu, you'll see the option to set the desired hours and minutes. Use the menu button to adjust the time accordingly and confirm your selection. Ensuring the correct time is displayed is essential for a hassle-free morning routine.
If you encounter any issues, here are some troubleshooting tips: double-check that the correct AM or PM setting is selected and that your Keurig is plugged in and functioning properly. Sometimes, a simple reset by unplugging and plugging back in can resolve minor glitches.
Understanding your programming options empowers you to customize your brewing schedule to fit your lifestyle. By mastering the on-time setting, you'll enjoy a perfectly timed cup of coffee every morning without any manual input.
Adjust Hours and Minutes
Press and hold the clock button on your Keurig to enter the time adjustment mode. Once you're in this mode, the display will start blinking, indicating that you can now set the correct time.
First, decide on the time format that suits your preference—whether a 12-hour or 24-hour format. This choice is important for ensuring you read and set the time correctly every day.
Next, use the hour and minute buttons to adjust the time. Press the hour button to set the correct hour, making sure it's aligned with your chosen time format. For instance, if you're using a 12-hour format, be mindful of AM and PM settings. After setting the hours, press the minute button to adjust to the exact minute. This step is vital for precise timekeeping, especially if you rely on your Keurig to start brewing at a specific time.
While setting the time, consider the time zone you're in to maintain accuracy. It's particularly useful if you travel with your Keurig or frequently move between time zones.
Once you're satisfied with the adjustments, check the display to confirm the time is set correctly.
Confirm On Time Setting
To confirm the on time setting, press the menu button and verify the clock display on your Keurig. This validates that your brew time is set correctly, so your coffee maker starts brewing when you need it.
Double-checking this setting is crucial for a smooth and timely brewing experience.
Verify Clock Display
Make sure the clock display on your Keurig coffee maker shows the correct time to match your brewing schedule. This step is vital for guaranteeing clock accuracy and preventing any disruptions in your coffee routine.
Start by accessing the menu button to review the on/off settings. Verify that the hours and minutes set align accurately with your desired brewing time. Pay close attention to the AM or PM indicator to ensure it reflects whether you want your coffee brewed in the morning or evening.
If you notice any discrepancies, double-check your time zone settings and make any necessary adjustments. Customization of these settings can help maintain the accuracy of your clock display. After making changes, always recheck the display to confirm that the scheduled on time is correctly shown.
In case you encounter any issues, consider basic troubleshooting steps such as resetting the clock or revisiting the settings menu. Ensuring the time display is accurate will help you avoid any unexpected delays in your coffee brewing process.
Adjust Brew Time
Start by accessing the settings menu on your Keurig coffee maker to set your desired brew time. Press the menu button, then scroll down using the navigation buttons until you find the 'On/Off' option. Follow these steps to guarantee your coffee maker turns on precisely when you need it:
Select 'On/Off' Option: Use the navigation buttons to highlight 'On/Off' and press the menu button to select it.
Set Hours and Minutes: Adjust the hours and minutes to define when your Keurig should start brewing. Make sure to set AM or PM correctly.
Confirm On Time: Press the menu button again to confirm the set time. Make sure the display shows the correct time.
Verify Settings: Double-check the settings to guarantee your Keurig will activate at the desired time without any errors.
While setting the brew time, remember to adjust other factors like brew strength and water temperature to elevate your coffee experience. This ensures that not only is your coffee ready when you wake up, but it also meets your specific taste preferences. By mastering these settings, you'll enjoy a perfectly timed and customized brew each morning.
Set the Off Time
To set the off time on your Keurig coffee maker, start by accessing the control panel and selecting the on/off setting.
Use the menu button to adjust the hours and minutes for when you want the machine to turn off.
Once you've set the desired time, confirm your settings and enjoy the energy-saving benefits.
Access Control Panel
Locate the menu button on your Keurig coffee maker to access the control panel and set the off time. This crucial step guarantees your machine conserves energy and extends its lifespan. Here's how to do it:
- Press the menu button: This allows you to navigate through various options.
- Scroll to 'on/off' option: Use the arrow buttons to find the 'on/off' setting.
- Set the off time: Adjust the hours and minutes to your desired off time using the hour and minute buttons.
- Confirm your selection: Press the menu button again to save your settings.
Adjust Off Timer
After accessing the control panel, you can now adjust the off timer to set when your Keurig coffee maker automatically turns off. First, make sure you've set the on time. Then, press the menu button to navigate to the off timer settings. Here, you can adjust the hours and minutes using the arrow keys until you reach your desired shut-off time. Confirm the setting by pressing the menu button again.
The auto-off feature is particularly handy if you often leave the house for work or aim to conserve energy. It guarantees your coffee maker shuts down at a specific time, enhancing safety and reducing energy consumption. If you encounter any issues, some troubleshooting tips include double-checking the on time setting and ensuring the control panel isn't locked.
While adjusting the off timer, you might also want to contemplate your coffee strength adjustment settings to ensure your coffee is brewed exactly to your taste every morning. By mastering these settings, you can enjoy a perfect cup of coffee without worrying about manually turning off the machine. This simple yet effective feature ensures your Keurig operates efficiently, providing convenience and peace of mind.
Save New Settings
Once you've adjusted the off time, press the menu button again to save your new settings. This guarantees your Keurig will power down at the specified time, helping you conserve energy and maintain safety.
Here's a quick recap to solidify the process in your mind:
- Access the settings menu: Begin by pressing the menu button on your Keurig.
- Locate the 'On/Off' option: Scroll down to find this setting, where you can adjust the off time.
- Set the off time: Use the buttons to modify the hours and minutes according to your preference.
- Save the settings: Press the menu button once more to confirm and save your adjustments.
Even with these straightforward steps, you might encounter issues. If your Keurig doesn't turn off as scheduled, revisit the settings to ensure they're correct. Also, routinely check for firmware updates, as these can sometimes resolve timing glitches.
For top-notch performance, incorporate these settings into your regular maintenance routine. Clean your machine periodically and check for any obstructions that might affect its operation.
Toggle AM/PM
To toggle between AM and PM on your Keurig coffee maker, simply watch for the PM icon when adjusting to the afternoon hours. The Keurig's clock display defaults to the AM time format, so when setting the time, you'll need to be attentive for the PM icon to make sure accurate differentiation between morning and evening brewing times.
Begin by accessing the clock display on your Keurig. Use the menu button to start the time-setting process. As you adjust the hours, observe the display for the PM indicator, which will appear once you pass the 12-hour mark. This icon is important for switching between AM and PM settings. Make sure the correct time format is selected to align with your brewing schedule.
After selecting the appropriate hour and confirming the AM or PM setting, proceed to set the minutes accurately. Once both the hour and minute settings are correct, confirm your selection by pressing the menu button again. This final step ensures that your Keurig's clock is set correctly, helping you avoid any confusion between morning and evening brews.
Enable Auto Off Feature
Your Keurig coffee maker's Auto Off feature helps you save energy by automatically turning off the machine after a set period of inactivity.
To enable this energy-efficient feature, follow these straightforward steps:
- Access the Menu: Start by pressing the menu button on your Keurig to enter the programming mode.
- Select Auto Off: Scroll through the menu options until you find the 'Auto Off' setting.
- Set the Time: Choose the desired time interval for the automatic shutdown. This can usually range from 15 minutes to 2 hours.
- Confirm Your Setting: Press the menu button again to confirm and save your Auto Off setting.
Frequently Asked Questions
How Do I Change the Time on My Keurig Coffee Maker?
To adjust the time, press the menu button to access the clock setting. Scroll to set the hours and minutes, then confirm. Make sure you use the AM/PM feature correctly for accurate time adjustment on your Keurig.
How Do I Program My Keurig Coffee Maker?
To program your Keurig coffee maker, access the programming modes by pressing the menu button. Adjust timer settings for on/off times, ensuring accurate AM/PM selection. Use the auto-off feature to improve energy efficiency.
How Do I Set the Schedule on My Keurig?
To set the schedule on your Keurig, press the menu button, adjust on/off times, and confirm. For maintenance tips and troubleshooting issues, make sure regular cleaning and inspect the water reservoir for any blockages.
How Do I Set My Keurig to Settings?
Press the menu button to access the display settings. Scroll to the Auto off feature, adjust the time using the menu button, and confirm by pressing it again. This guarantees your Keurig turns off automatically.
Conclusion
Now that you know how to set the time on your Keurig coffee maker, you can enjoy the convenience of having your coffee ready when you want it. Just access the menu, adjust the hours and minutes, and confirm your settings.
Don't forget to set the off time and toggle between AM and PM. Enable the auto-off feature for added convenience.
Follow these steps, and your Keurig will be perfectly timed for your routine.
1 thought on “How to Set Time on Keurig Coffee Maker?”
Comments are closed.