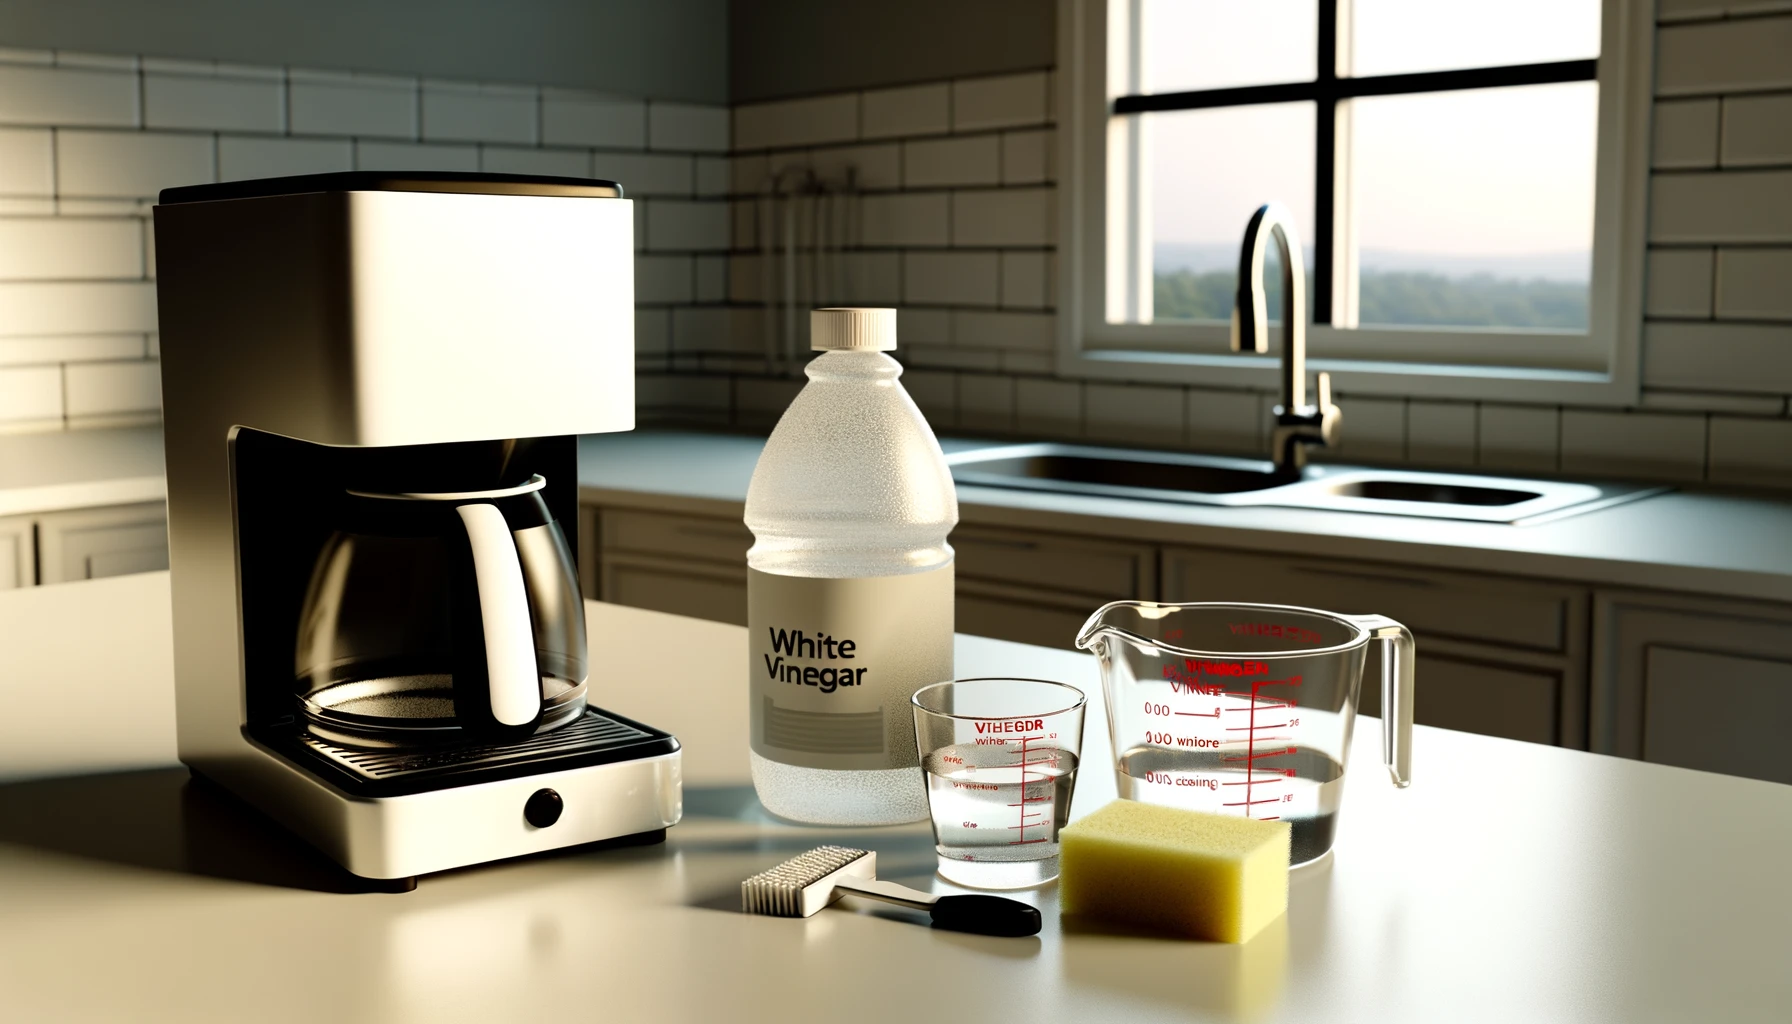
To clean your coffee maker with vinegar, start by mixing equal parts white vinegar and water. Pour this solution into the coffee maker's reservoir. Let it sit for an hour, then start the brew cycle, pausing halfway to let the vinegar solution soak into the machine for thorough cleaning. After completing the cycle, run at least two full brew cycles with clean water to rinse out any remaining vinegar. Make sure the smell of vinegar is gone. Don't forget to wash the removable parts like the brew basket and carafe with the same vinegar solution, rinse them well, and reassemble. There's more to keeping your coffee maker in top shape.
Main Points
- Mix equal parts of white vinegar and water to create a cleaning solution and pour it into the coffee maker's reservoir.
- Start a brew cycle, pause it midway, and let the vinegar solution sit for an hour to soak.
- After soaking, complete the brew cycle to thoroughly clean the coffee maker's internal components.
- Run at least two full cycles with clean water to rinse out any remaining vinegar residue.
- Disassemble and clean removable parts like the brew basket and carafe with a vinegar-water solution, then rinse and dry.
Gather Your Supplies
Before you start cleaning your coffee maker, make sure you have white vinegar, water, a cleaning cloth, and a scrub brush on hand. These tools are important in effectively removing the mineral deposits that can accumulate in your coffee maker over time. White vinegar, known for its natural cleaning properties, is particularly valuable due to its acidity, which helps dissolve the scale and buildup inside your machine.
When selecting white vinegar, opt for a distilled variety to make certain it's free from any additional flavors or coloring that could affect your coffee maker. The water you use should be clean and preferably filtered to avoid introducing new minerals during the cleaning process. This combination not only maintains the performance of your coffee maker but also extends its lifespan.
Your cleaning cloth should be soft and non-abrasive to prevent scratching the surfaces inside your coffee maker. For areas that require a bit more effort to clean, a scrub brush with soft bristles can be employed. It's important that the brush is gentle enough to not damage any internal components while still being effective in scrubbing away tough deposits. Together, these supplies will set you up for a successful cleaning session.
Prepare Vinegar Solution
To prepare the vinegar solution, mix equal parts of white vinegar and water in the carafe, making sure it's enough to fill the reservoir for effective descaling. This step is important for dislodging and dissolving the mineral deposits that build up in your coffee maker over time.
You'll want to use a high-quality white vinegar for this process. Its acidic nature is what helps break down the mineral buildup, which not only affects the performance of your machine but can also impact the taste of your coffee. As you prepare the solution, make sure that the mixture is thoroughly combined. This uniformity is key to ensuring that the acetic acid in the vinegar is evenly distributed throughout the reservoir during the cleaning process.
Once the vinegar solution is ready, pour it into the coffee maker's reservoir. It's important to fill it to the capacity you typically would with water for brewing. This ensures that all internal pathways and the pump system are adequately exposed to the cleaning solution. Let the solution sit in the reservoir for at least an hour. This soaking period allows the vinegar ample time to work on the mineral deposits, ensuring a thorough clean.
Start Initial Brew Cycle
Now that you've prepared your vinegar solution, it's time to start the initial brew cycle.
First, measure the appropriate amount of solution to make sure it fills the coffee maker's reservoir adequately.
Then, begin the brewing process by running half of a brew cycle, allowing the vinegar solution to interact with the residues inside.
Measure Vinegar Solution
Have you ever wondered how to effectively clean your coffee maker? Start by measuring equal parts of white vinegar and water to create a potent cleaning solution. Once you've prepared your mixture, carefully pour it into the coffee maker's reservoir.
This step is important as it sets the stage for the initial brew cycle, which is vital for descaling and removing the stubborn mineral deposits that can hinder your machine's performance.
Make sure the reservoir is adequately filled to guarantee the vinegar solution can circulate thoroughly during the cleaning cycle. This process not only targets the visible areas but also penetrates the hidden parts of your coffee maker, breaking down built-up coffee oils and mineral deposits, restoring its efficiency and taste clarity.
Begin Brewing Process
After filling the reservoir with the vinegar solution, start the coffee maker's initial brew cycle to begin the internal cleaning process. This step is vital for effectively cleaning the machine's internal components.
As the brew cycle progresses, the acidic nature of the vinegar works to dissolve mineral deposits and other residues that may have built up in your coffee maker. To amplify the cleaning power, let the vinegar solution sit in the machine for about an hour after the brew cycle completes.
This pause allows the vinegar more time to break down any stubborn deposits, ensuring a more thorough cleanse. It's crucial to follow this process meticulously to restore and maintain the optimal performance of your coffee maker.
Pause for Soaking
Once you've started the initial brew cycle with the vinegar solution, it's important to pause your coffee maker for adequate soaking. Allowing the machine to sit for at least an hour lets the vinegar work effectively, breaking down mineral deposits and clearing out old coffee oils.
The concentration of the vinegar solution also plays a significant role in determining the effectiveness of this cleaning process.
Soaking Time Duration
To guarantee thorough cleaning, let the vinegar solution soak in your coffee maker for at least one hour, allowing it to dissolve mineral deposits effectively. This soaking time is important for tackling the more persistent buildups that simple rinsing can't remove. Here's a breakdown of the process:
- Ventilation: Make sure your space is well-ventilated during the soak to avoid inhaling strong vinegar fumes.
- Penetration: The extended duration allows the vinegar to reach and clean hard-to-access areas within the coffee maker.
- Adaptability: Adjust the soaking time based on the severity of mineral buildup; more severe cases might benefit from a longer soak to ensure ideal cleanliness and function of your machine.
Vinegar Concentration Impact
How does vinegar concentration affect the descaling process of your coffee maker during the soaking phase?
Using a higher concentration, like undiluted white vinegar, greatly improves the effectiveness of descaling. This potent acidity breaks down stubborn mineral deposits more efficiently than diluted solutions.
By allowing this concentrated vinegar to soak for at least 1 hour, you enable the acetic acid to penetrate and dissolve the limescale and buildup deep within the machine's internal components. For tougher stains or heavier mineral deposits, extending the soaking period can further boost cleaning outcomes.
Adjusting the vinegar concentration and soaking duration ensures a thorough descaling, optimizing your coffee maker's performance and extending its lifespan.
Complete the Brew Cycle
Begin the complete brew cycle by running the vinegar solution through your coffee maker to effectively dissolve mineral buildup and residue. This essential step not only guarantees that your machine functions efficiently but also extends its lifespan by preventing potential malfunctions caused by scale deposits.
Here's how you should proceed:
- Run a Cycle with Vinegar: Initiate the brew cycle by pouring the vinegar solution into the water reservoir. Start the machine as you'd when brewing coffee. This process, known as cleaning with vinegar, will circulate the solution throughout the internal components of the coffee maker, tackling oils, coffee grinds, and mineral deposits.
- Allow the Solution to Sit: After the vinegar has run halfway through, pause the brewing process. Let the solution sit for about an hour. This waiting period allows the vinegar to break down the buildup more effectively, enhancing the cleaning power of your solution.
- Complete the Brew Cycle: Resume the brew cycle after the sitting period and let the remaining vinegar solution run its course. This step ensures that all internal pathways and the carafe are thoroughly cleaned, setting the stage for a final rinse in the subsequent steps.
Rinse Thoroughly
After completing the brew cycle with the vinegar solution, you'll need to thoroughly rinse your coffee maker to eliminate any lingering vinegar odor and residue. Start by refilling the reservoir with clean water, making sure no traces of vinegar are left. Run at least two full brew cycles with just clean water. This step is important to guarantee that all vinegar residue is flushed out from the internal components and the carafe.
Each rinse cycle should be followed by a careful inspection to confirm no smell or residue remains. If a vinegar scent is still detectable, continue the thorough rinsing process with additional clean water cycles until the odor completely dissipates. It's important to use fresh water for each cycle to effectively remove all traces of vinegar.
Clean Additional Components
Disassemble and clean the brew basket, filter, and carafe separately to effectively remove all coffee residues and odors. It's important to tackle each component individually to make sure no leftover oils or grounds compromise the flavor of your next brew. Here's how to meticulously clean these critical parts:
- Soak the Removable Parts:
- Begin by detaching the filter basket, carafe, and any other removable parts from your coffee maker. Submerge these items in a solution of equal parts water and vinegar. Allow them to soak for at least 30 minutes. This step helps in breaking down the oils and residue stuck in less accessible areas.
- Scrub Thoroughly:
- After soaking, use a soft brush or sponge to scrub the brew basket, carafe, and filter basket. Pay special attention to any crevices and hard-to-reach spots where residue tends to accumulate. This manual scrubbing is important to dislodge any lingering grime that the soaking couldn't fully address.
- Rinse and Dry:
- Rinse each component under running water to remove any traces of vinegar or loosened residues. Make sure all parts are thoroughly cleaned with no smell of vinegar left. Dry all parts completely with a clean towel or let them air dry on a drying rack. This prevents mold or mildew from developing due to moisture.
Final Wiping and Reassembly
Once you've cleaned and dried all parts, use a damp cloth to meticulously wipe down the exterior of your coffee maker, focusing on any hard-to-reach areas and corners. It's important to make sure no vinegar residue or water spots remain that could affect the taste of your coffee or the machine's performance. Check the surface and joints for any leftover grime or mineral deposits from the cleaning cycle. These spots might need a bit of extra attention with soapy water followed by a clear water rinse to ensure they're residue-free.
Next, you'll reassemble the coffee maker. Begin by replacing any internal filters or mechanisms that were removed during the initial disassembly. Make sure each component is completely dry and fits back into its rightful place precisely. Misalignment can cause leaks or operational malfunctions. Once everything is securely in place, it's wise to run one full cycle with just water before making coffee. This step helps to confirm that the assembly is correct and clears out any potential remnants of vinegar or soapy water.
Frequently Asked Questions
How Do You Clean a 12 Cup Coffee Maker With Vinegar?
To clean your 12-cup coffee maker, mix equal parts water and white vinegar. Start a half-brew cycle, let it sit for an hour, then complete several rinses. Maintain descaling frequency for best performance.
What Is the Ratio of Vinegar to Water to Clean a Coffee Maker?
To achieve best cleanliness in your coffee maker, maintain a 1:1 vinegar to water ratio. Consider vinegar types and environmental factors to tailor frequency and improve cleaning efficiency.
How Much White Vinegar Do I Use to Clean My Mr Coffee Coffee Maker?
To clean your Mr. Coffee maker, use a 1:1 ratio of white vinegar to water. Regular descaling, considering vinegar types, and adhering to safety precautions guarantee top-notch maintenance and performance.
Does Vinegar Clean Mold Out of Coffee Maker?
Yes, vinegar effectively removes mold from your coffee maker, addressing health implications by eliminating bacteria. For mold identification and alternative solutions, consider using lemon juice or baking soda for similar cleaning efficacy.
Conclusion
Now that you've cleaned your coffee maker, you'll notice a significant improvement in taste. Make sure you've rinsed it thoroughly to eliminate any vinegar residue.
For ongoing maintenance, repeat this cleansing process every month. Regularly wiping and reassembling the removable parts prevents mold and coffee oil buildup, ensuring your brews remain fresh and your machine operates efficiently.
This simple routine not only prolongs the life of your coffee maker but also elevates your coffee experience.