First, unplug your Keurig and let it cool. Empty and clean the water reservoir. Fill it with a mix of white vinegar and water, or use a Keurig descaling solution. Start the descaling cycle as per the manufacturer’s instructions. After the cycle, let your machine rest for 30 minutes to loosen mineral deposits. Rinse thoroughly by running multiple fresh water cycles until the water appears clear. Clean all removable components like the drip tray and reservoir. Reassemble and run a test brew to make sure everything’s working well. Regular maintenance improves your Keurig’s performance, setting the stage for even more insights on upkeep.
Main Points
- Begin by unplugging the Keurig and emptying the water reservoir.
- Prepare and add the descaling solution to the reservoir, following manufacturer’s instructions.
- Run multiple brew cycles without a coffee pod to flush the descaling solution through the machine.
- After descaling, rinse the system by running fresh water through multiple brew cycles.
- Clean all removable parts and reassemble the Keurig for regular use.
Gather Necessary Materials
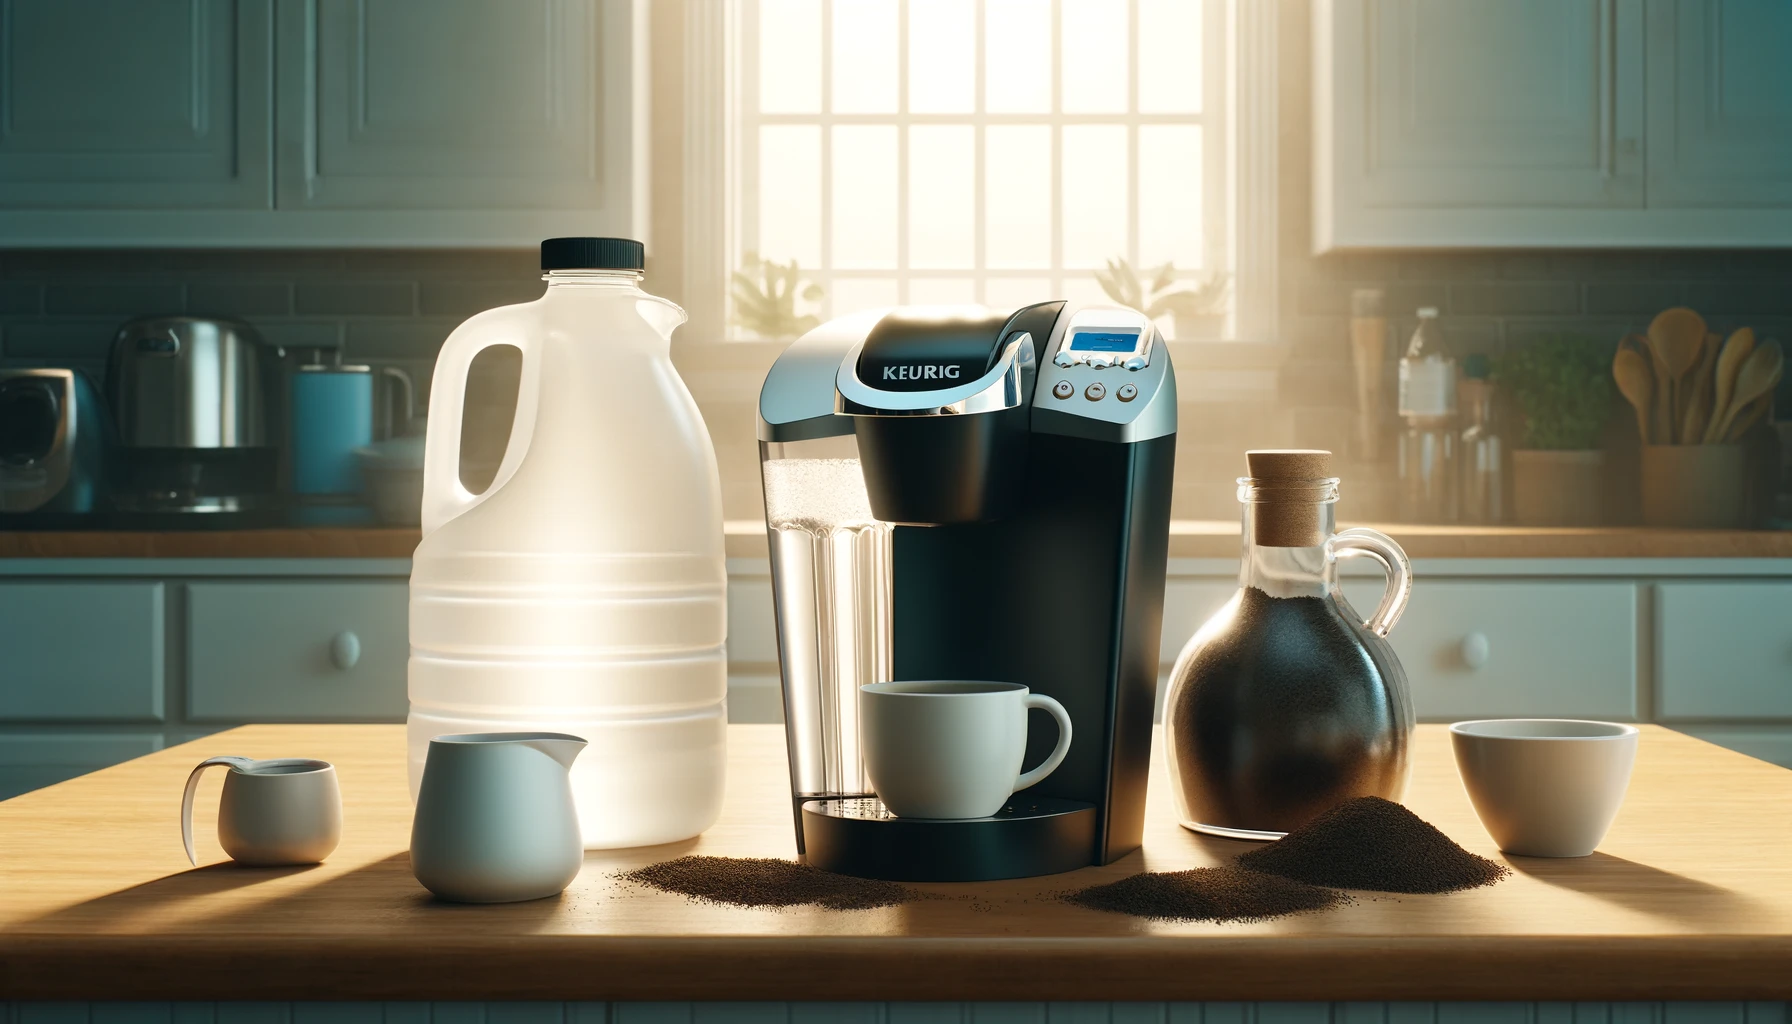
Before you start descaling your Keurig coffee maker, make sure you’ve gathered all the necessary materials: white vinegar or a Keurig Descaling Solution, a clean mug, access to a sink, and some cloth or paper towels.
Initiate by selecting either white vinegar or a Keurig Descaling Solution as your cleaning agent. The choice between these depends on your preference for natural cleaners or manufacturer-recommended solutions. White vinegar is readily available and economical, but the Keurig Descaling Solution is formulated particularly for your machine, potentially extending its lifespan.
Next, procure a clean mug. This mug will serve to catch the descaling solution during the cleaning cycle, so make certain it’s large enough to hold at least a full brew cycle’s worth of liquid without overflowing.
Make sure you have a sink nearby. You’ll use it frequently to dispose of used descaling solutions and to rinse parts of your Keurig that may need manual cleaning.
Lastly, have a clean cloth or some paper towels at hand. These will be indispensable for wiping up any spills or drips you might encounter during the descaling process. They also help in drying off cleaned components before reassembling your machine.
Remember to unplug your Keurig and allow it to cool completely before you begin the descaling process.
Empty the Water Reservoir
Having gathered all necessary materials, you’ll next need to empty the water reservoir to prepare your Keurig for the descaling process. Start by turning off your coffee maker and unplugging it from the power outlet. This precaution guarantees safety and prevents any electrical interference during the cleaning.
Proceed by removing the water reservoir from the main unit of your Keurig. You might need to lift or slide it off, depending on your model. Once removed, discard any leftover water by pouring it out into the sink. Make sure you tilt the reservoir to remove water completely, paying attention to any water traps or corners where liquid might collect.
Next, inspect the reservoir for any visible residue or contamination. Wipe the inside with a soft, lint-free cloth to remove any traces of coffee or water minerals. This step is essential to prevent any residual contamination that could interfere with the effectiveness of the descaling solution.
Prepare Descaling Solution
To guarantee your Keurig operates at its best, carefully mix the descaling solution according to the manufacturer’s specifications before adding it to the water reservoir. Begin by selecting a descaling solution specially formulated for use with Keurig coffee makers. This importance is key as it ensures the solution is both safe for your machine and effective at removing mineral buildup.
Follow the manufacturer’s instructions meticulously. Typically, this will involve combining a precise amount of descaling solution with water. The ratio is often outlined in the Keurig manual; adhering to this ratio is crucial for best results and to prevent any potential damage to your coffee maker.
Once you’ve mixed the solution, make sure it’s thoroughly combined. An unevenly mixed solution can lead to subpar descaling, which mightn’t fully eliminate all mineral deposits. Stir or shake the solution as required to achieve a uniform mixture.
Preparing the descaling solution correctly isn’t merely a recommendation—it is necessary. Using vinegar as an alternative isn’t advised unless explicitly endorsed by Keurig, as it may not be as effective and could harm the internal components of your coffee maker. Proper preparation leads to a successful descaling process.
Begin the Descaling Cycle
Now that you’ve prepared the descaling solution, it’s time to start the cleaning process on your Keurig coffee maker.
First, make sure the machine is powered on and the water reservoir is filled with the descaling solution.
Next, place a large ceramic mug on the drip tray and press the ‘Brew’ button to initiate the descaling cycle, allowing the solution to flow through until the reservoir is empty.
Prepare Descaling Solution
Begin by mixing equal parts of white vinegar and water to prepare the descaling solution. This acidic solution is important to effectively descale your Keurig coffee maker, targeting the stubborn mineral deposits that accumulate over time.
After preparing the solution, proceed to fill the water reservoir of your Keurig to its full capacity. Make sure this mixture permeates the system by placing a large ceramic mug on the drip tray; this will catch the solution during the descaling cycle.
Initiate the cycle by selecting the descale mode on your machine. It’s vital to allow the vinegar solution to run through the brewer and then let it sit for at least 30 minutes. This duration is crucial for the vinegar to dissolve the mineral build-up thoroughly.
Start Cleaning Process
After allowing the vinegar solution to sit for the required time, empty the water reservoir and double-check that no K-Cups or accessories are in the machine before starting the descaling cycle. Now, it’s time to initiate the cleaning process, which is essential for maintaining your Keurig’s performance and extending its lifespan.
Steps to Begin the Descaling Cycle:
- Fill the Reservoir: Pour the descaling solution or a 50/50 mix of white vinegar and water into the now empty water reservoir.
- Run the Cycle: Start the descaling cycle. This process will effectively remove mineral buildup and scale from the internal components.
- Rinse Thoroughly: Once the cycle is complete, rinse the water reservoir thoroughly to eliminate any residual descaling solution.
Complete Multiple Brew Cycles
To thoroughly flush the descaling solution and eliminate any residual taste or odor, run multiple brew cycles on your Keurig coffee maker. Begin by filling the water reservoir with fresh water to the maximum fill line. Make sure that no descaling solution remains in the compartment, as this could compromise the effectiveness of this stage in the descaling process.
Initiate the first brew cycle without inserting a coffee pod. Choose the largest cup setting to maximize the volume of water processed, which aids in thoroughly rinsing the internal components. As the hot water flows through the Keurig, it dilutes and carries away any residual scaling solution, ensuring that no areas with concentrated deposits are overlooked. Repeat this process at least three to four times.
Allow Machine to Rest
Once you’ve completed the multiple brew cycles to rinse the internal components, let your Keurig coffee maker rest for at least 30 minutes to effectively break down any remaining mineral deposits. This resting phase is important not only for allowing the descale solution to thoroughly penetrate and dissolve the stubborn calcium and mineral deposits but also for ensuring that these residues don’t compromise the taste of your coffee or the machine’s best performance.
During this resting period, the descale solution actively works in several critical ways:
- Dissolving Deposits: The solution continues to react with the mineral deposits, breaking them down more completely than during active brewing cycles.
- Reaching Stubborn Areas: Areas within the machine that are typically harder to reach, such as the pump and heater, have extended exposure to the descale solution, ensuring a more effective clean.
- Preventing Residue: By allowing the solution to sit, it prevents the mineral residue from settling back onto the internal components, which can happen if the machine is used immediately after descaling.
Adhering to this rest period is important for a thorough cleaning that maintains your Keurig’s longevity and efficiency.
Rinse With Fresh Water
Begin rinsing your Keurig coffee maker with fresh water to make sure all traces of the descaling solution are completely removed. This phase is crucial in the cleaning process, ensuring that no residual descale solution contaminates your coffee’s flavor. Start by filling the water reservoir with clean, fresh water. If your model supports it, use the largest cup setting to run several brew cycles without a coffee pod in place, discarding the water after each cycle.
This step not only flushes the system but also helps maintain the integrity of the coffee maker’s internal components, guaranteeing peak performance. The goal here is to thoroughly rinse out any descaling solution that could linger within the machine. Pay close attention to the water expelled during these cycles; initially, you might notice a slight cloudiness or traces of descaling solution. Continue the rinsing process until the water appears clear and clean, indicating that the system is free from any residual chemicals.
Clean Removable Components
Remove and clean the drip tray, plate, reservoir, and lid of your Keurig by hand washing them with dish soap and warm water to prevent bacteria buildup and maintain peak coffee flavor. After washing, thoroughly rinse each component to remove any soap residues. This step is vital in your regular maintenance routine, guaranteeing that every cup of coffee tastes fresh and is safe to consume.
To effectively clean these components, consider the following methodical steps:
- Drip Tray and Plate: Remove the drip tray and plate, scrubbing them with a soft sponge dipped in a solution of warm water and a few drops of dish soap. Pay special attention to any coffee or tea stains.
- Reservoir and Lid: Detach the reservoir, empty any remaining water, and wash both the reservoir and lid inside out using the same soapy water. For hard-to-reach areas, use a bottle brush to ensure thorough cleaning.
- Drying: Use a clean microfiber cloth to dry all components completely before reassembling. This prevents moisture buildup, which can lead to mold and water spots, thereby helping to extend the lifespan of your machine.
Additionally, running a water-only cycle after reassembling ensures that any lingering residue is flushed out, further optimizing your machine’s performance.
Reassemble and Test
Once you’ve securely reattached the water reservoir to your Keurig, proceed by inserting your chosen coffee pod into the pod holder.
Next, initiate a brewing cycle without adding coffee grounds to perform a test run, ensuring that all functions are operating correctly.
This will confirm that your machine is ready for regular use, free from any scale buildup or functional errors.
Reattach Water Reservoir
Align the water reservoir with the brewer to guarantee a secure fit and prevent leaks during operation. Carefully guide the reservoir back into its position, aligning it precisely with the designated area on the brewer.
Here are the critical steps to make sure a proper reattachment:
- Aligning: Make sure the guides on the reservoir match the slots on the brewer.
- Gently Pushing: Insert the reservoir gently into place. You should feel resistance just before it fully seats.
- Listening for Clicks: Push until you hear a distinct click, indicating a secure connection.
Once reattached, double-check that the reservoir is securely in place to ensure smooth operation. This careful reattachment prevents future issues and ensures your coffee maker functions efficiently.
Insert Coffee Pod
After reattaching the water reservoir, insert a coffee pod into the holder to prepare for a test brew. Make sure the coffee pod is oriented correctly for best extraction. This correct placement is essential as it affects the flow and flavor of your fresh cup.
Press the pod firmly into the slot until you hear a slight click, indicating it’s securely locked into place. This step is important in the reassembly process post-descaling, ensuring no previous scale impediments interfere with the brewing process.
Carefully closing the pod holder initiates the machine’s readiness for a test brew, a critical final step to confirm that the Keurig is fully operational and ready to deliver a fresh, flavorful cup of coffee.
Perform Brewing Cycle
Why not start your Keurig and initiate a brewing cycle by pressing the power button, making sure no K-Cup is inserted, to test the effectiveness of the descaling process? After reassembling your machine by securely placing the water reservoir back and making certain the lid is closed, here are the steps you need to follow:
- Position an empty mug on the drip tray to catch the descaling solution.
- Allow the machine to dispense the descaling solution and hot water during the cycle into the mug.
- Discard the contents of the mug after the brewing cycle and thoroughly rinse the water reservoir before refilling it for regular use.
This method ensures that all remnants of the descaling solution are completely removed, preparing your Keurig for the best regular use.
Schedule Next Descaling
To guarantee your Keurig coffee maker operates efficiently, schedule descaling every 3 to 6 months depending on your water’s hardness and how frequently you use the machine. Regular maintenance, including descaling, is essential to prevent clogs and malfunctions that could impair the taste of your coffee.
If your Keurig model is equipped with descale indicator lights, these will serve as a prompt when it’s time to descale. However, don’t rely solely on these indicators; consider setting system reminders or calendar alerts as a failsafe. This proactive approach ensures you maintain the schedule and protects your machine’s functionality and longevity.
To effectively incorporate descaling into your routine, first assess the hardness of your water. Hard water requires more frequent descaling due to higher mineral content. Next, monitor your coffee maker’s usage. Higher usage increases the frequency of required descaling. Based on these factors, determine whether a 3-month or 6-month schedule is more appropriate for your situation.
Lastly, always use a descaling solution appropriate for Keurig machines to ensure compatibility and effectiveness. Following these guidelines will keep your coffee maker performing efficiently, ensuring each cup of coffee remains a delightful experience.
Frequently Asked Questions
How Do I Get My Keurig to Descale?
To initiate your machine’s descaling, consult the user manual for specific instructions regarding descale frequency, appropriate cleaning agents, and safety precautions to guarantee peak performance and component protection per your maintenance schedule.
Can I Use Vinegar to Descale a Keurig?
Yes, you can use vinegar to descale due to its effectiveness in removing mineral buildup. Guarantee thorough rinse cycles to eliminate odor. Explore alternatives if concerned about material safety or environmental impact.
How Do You Reset the Descale Light on a Keurig?
To reset the descale light on your Keurig, turn it off, then press and hold the ‘8 oz’ and ’10 oz’ buttons. Release after the indicator blinks. This completes the manual reset steps.
What Happens if You Don’t Descale Your Keurig?
If you don’t descale your Keurig, you’ll face mineral buildup, leading to performance decline, taste alteration, and slower brewing. This neglect can cause machine damage, increased repairs, and a shortened lifespan.
Conclusion
You’ve now successfully descaled your Keurig coffee maker. Start by reassembling all components and make sure they’re securely fitted.
Fill the reservoir with fresh water and run a few brew cycles to rinse any residual descaling solution. This step is essential for maintaining peak machine performance and taste quality.
Finally, test by brewing your favorite coffee. Remember, regular descaling every 3-6 months prevents mineral buildup and extends the life of your machine. Set a reminder for your next descaling session.