To put a filter in your Keurig coffee maker, start by soaking the water filter in water for 5 minutes to guarantee full saturation. Then, rinse it under running water for about 60 seconds to eliminate loose carbon particles. Prepare the filter holder by removing the bottom cap, inserting the filter, and replacing the cap securely. Insert the filter into the designated intake at the bottom of the reservoir, making sure it’s aligned properly. Reattach the reservoir lid firmly. Finally, run a test brew to check for leaks and confirm clear water. You’ll soon be ready to enjoy your perfect brew.
Main Points
- Soak the water filter in water for at least 5 minutes to activate it.
- Rinse the filter under running lukewarm water for 60 seconds to remove loose particles.
- Remove the bottom cap of the filter holder and insert the soaked filter securely.
- Insert the filter holder into the designated intake at the bottom of the Keurig reservoir.
- Run a test brew to check for proper filter installation and absence of leaks.
Soak the Filter
To activate your Keurig’s water filter, soak it in a container of water for at least 5 minutes. This step is essential because it allows the filter to fully saturate, guaranteeing it efficiently removes impurities from your water.
Using filtered water not only enhances the taste of your coffee but also helps maintain your Keurig machine in top condition.
When soaking the filter, make sure it’s completely submerged. This ensures that every part of the filter is activated and ready to work effectively. Follow the manufacturer’s instructions precisely, as they’re designed to optimize the filter’s performance. Adequate soaking is a key detail in preparing your filter for use.
During this 5-minute period, the filter absorbs water, which makes it more efficient at capturing unwanted particles and impurities. By doing so, you’re ensuring that your Keurig’s brewing process uses only the cleanest, best-tasting water available.
Rinse the Filter
Rinse the water filter under running water for at least 60 seconds to make sure it’s ready for use. This step is important as it removes any loose carbon particles that could affect the taste of your coffee.
Hold the filter under lukewarm water, turning it to make certain every side is thoroughly rinsed. This process helps activate the carbon, enabling it to effectively filter the water when it’s in your Keurig coffee maker.
After rinsing, gently shake the filter to remove any excess water. This prevents dripping and ensures the filter is primed for best performance. Regularly rinsing the filter not only improves its effectiveness but also prolongs its lifespan, ensuring you get the best filtration results over time.
Here’s a quick rundown to help you master the rinsing process:
- Hold the filter under lukewarm running water.
- Rotate the filter to rinse all sides thoroughly.
- Ensure the water runs clear before stopping.
- Gently shake to remove excess water.
- Repeat this process regularly for best results.
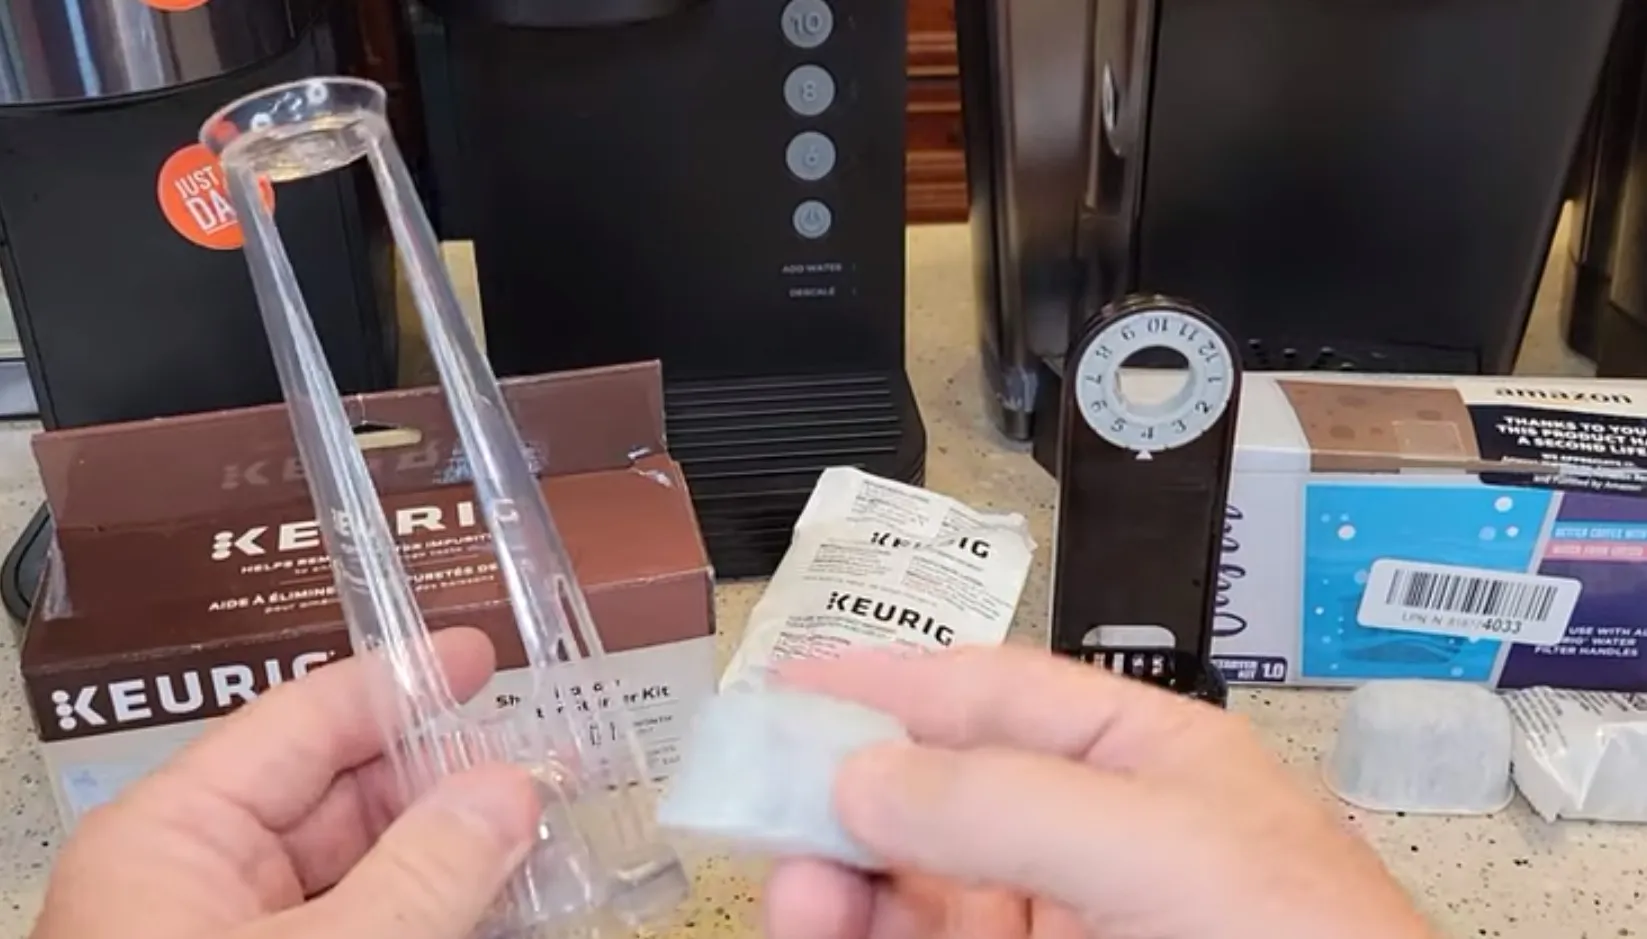
Prepare the Holder
Begin by soaking the water filter in water for five minutes to make sure it’s fully prepared for installation. This step is important to guarantee the filter is properly hydrated and ready to function effectively.
Once the five minutes are up, rinse the filter under running water for 60 seconds. This helps to remove any potential residue and ensures the filter is clean.
Next, focus on the holder. Start by removing the bottom cap of the holder. This is where you’ll insert the water filter, so it’s important to make space by taking off this cap.
With the cap removed, carefully insert the water filter into the holder. Pay attention to the orientation of the filter; it should fit snugly and correctly within the holder.
After the filter is securely in place, put the bottom cap back on the holder. Make sure it’s tightly secured to prevent any leaks or issues during use. Your holder is now prepared and ready for the next steps.
Install the Filter
With the holder prepared, insert the water filter into the designated intake at the bottom of the Keurig coffee machine. Make sure the filter is securely in place and properly aligned. This guarantees effective filtration and peak performance of your Keurig machine.
Before you finalize the installation, double-check that the filter is snug and fits well within the holder. Proper alignment is crucial to preventing any leakage or malfunction. Once you’re confident the filter is installed correctly, reattach the lid of the water reservoir. This step completes the installation process and readies your machine for brewing.
To improve your experience and achieve mastery in installing the filter, keep these tips in mind:
- Soak the water filter in water for 5 minutes before use to activate it.
- Rinse the filter under running water for 60 seconds to remove any excess charcoal particles.
- Guarantee the filter is securely in place and properly aligned.
- Double-check the filter’s snug fit within the holder to avoid leaks.
- Reattach the lid of the water reservoir firmly to secure the setup.
Test and Brew
After installing the water filter, run a test brew to make sure everything is functioning correctly. Start by filling the reservoir with water. Confirm the water filter is securely in place and correctly aligned in the intake at the bottom of the coffee machine. This step is essential to prevent any leaks during brewing.
Next, turn on your Keurig and place a mug on the drip tray. Select the brew size and initiate the brewing cycle without inserting a K-Cup. This will allow you to run water through the system and verify that the filter is working properly. Observe the process closely for any signs of leaks or misalignment.
Once the test brew is complete, check the water in your mug. It should be clear and free from any impurities, indicating that the filter is doing its job. Now, you can enjoy the benefits of filtered coffee that’s superior in taste and purity.
Remember to dispose of used water filters properly and clean the machine regularly to maintain peak performance. By following these steps, you’ll ensure that your Keurig continues to deliver high-quality, delicious coffee with every brew.
Frequently Asked Questions
How Do I Put the Filter Back in My Keurig?
To maintain your Keurig filter, soak it for 5 minutes, place it into the bottom intake, and make sure it’s secure and aligned. Run a test brew. This filter maintenance guarantees you enjoy freshly brewed, filtered coffee.
Is There a Filter in All Keurigs?
Not all Keurigs come with a filter. Some models, like the Keurig K Supreme, include specific filter types for better-tasting coffee. You’ll need to check your model to see if it supports a water filter.
How to Install a Keurig Reusable Filter?
To install a Keurig reusable filter, remove the K-cup holder, place the filter correctly, align it, and reinsert the holder. For best performance, follow cleaning tips: rinse thoroughly after use and deep clean weekly.
How Do You Put a Water Filter in a Keurig K Cafe?
For filter maintenance, soak the filter for 5 minutes, insert it into the intake at the bottom of your Keurig K Cafe, make sure it’s secure and aligned, then run a test brew to confirm proper functionality.
Conclusion
You’ve successfully installed the filter in your Keurig coffee maker. By soaking, rinsing, preparing the holder, and installing the filter, you’ve guaranteed your coffee will taste fresher and cleaner.
Remember to test the setup by brewing a cup of hot water before making your coffee.
Regularly changing the filter every two months or after 60 tank refills will keep your machine running smoothly.
Enjoy your freshly brewed coffee with confidence!